|
HOW TO FIT DRAWER FRONT - BLUM TANDEMBOX ANTARO - Deep
|
|
|
|
|
This page shows the quickest and easiest way to mark out and fit your drawer front
A video of each procedure is also available on the product page.
|

| | Tools and materials required.
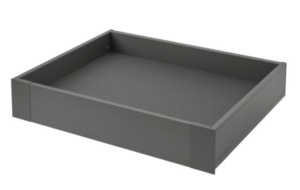
- Your drawer front
- Complete drawer box kit
- Measuring tape
- Set square or similar
- Pencil
- Cordless drill driver or equivalent
- 10mm drill bit
- Tape to mark depth of drill
|
| | |

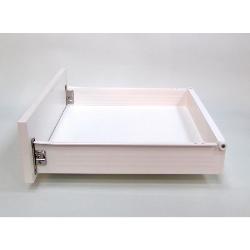
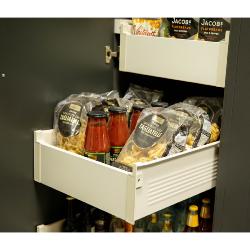
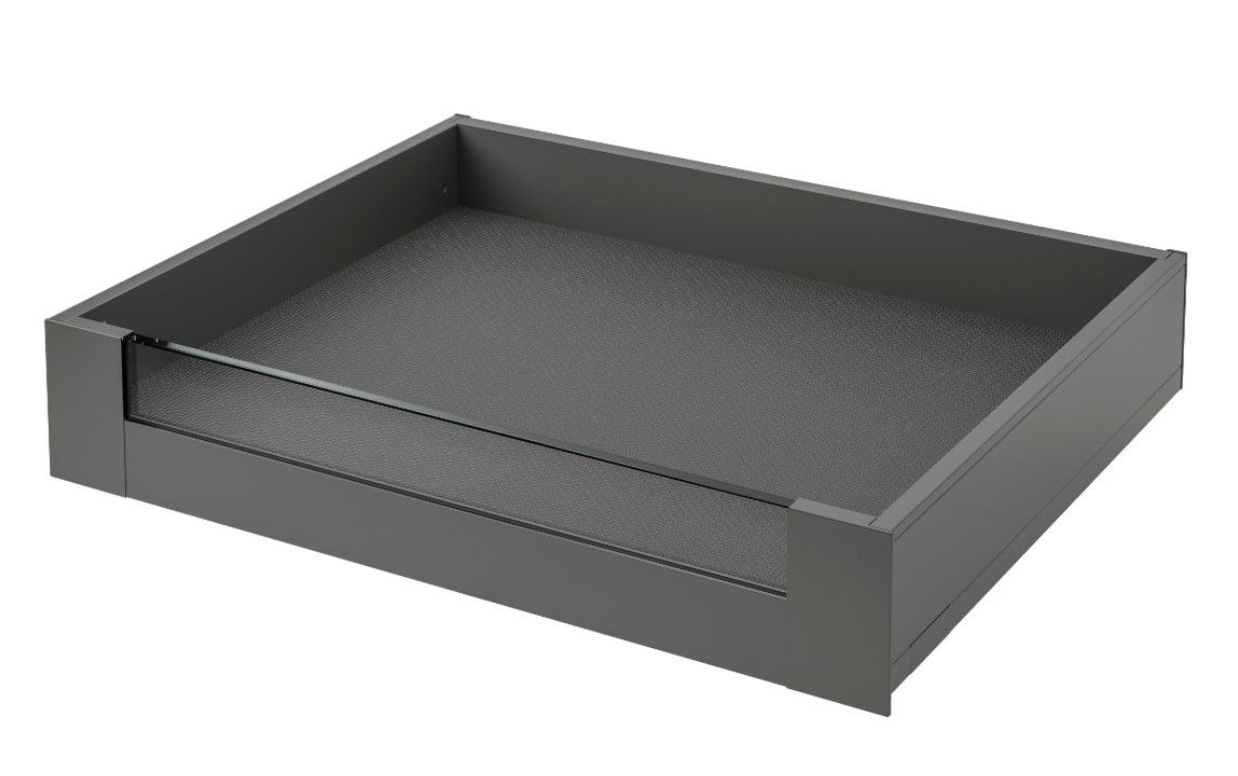
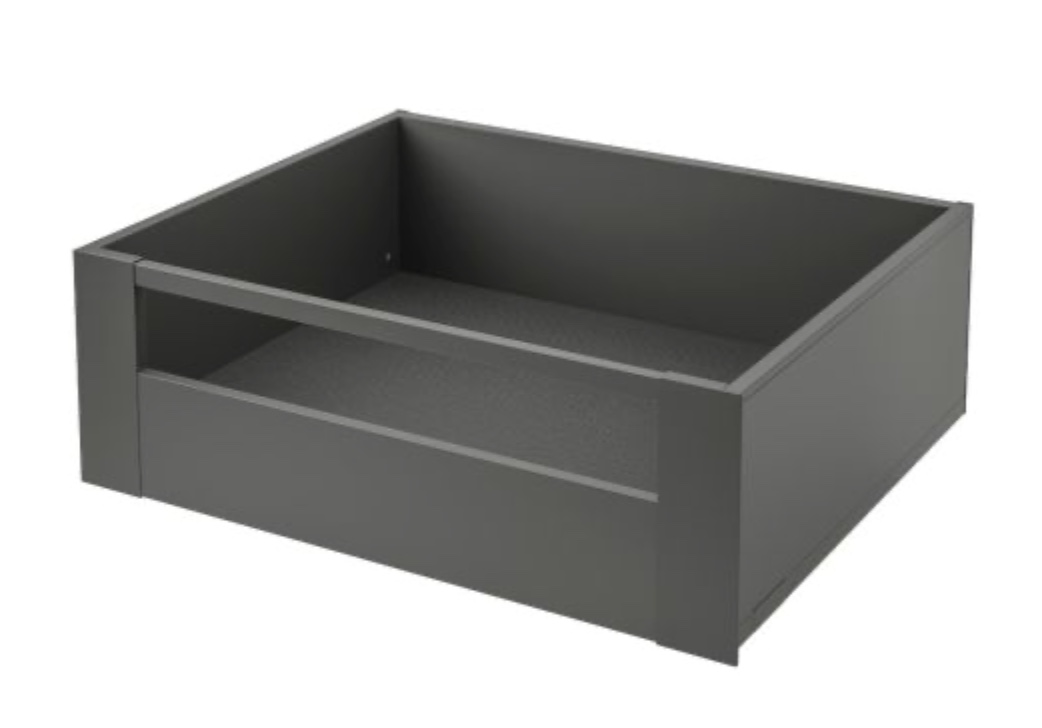
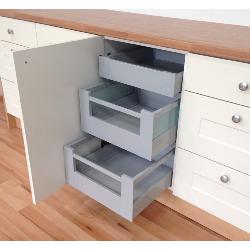
| | - Completed drawer box is in position
- The position of the top holes on the fixing brackets have to be transferred onto the drawer front
|
| | |

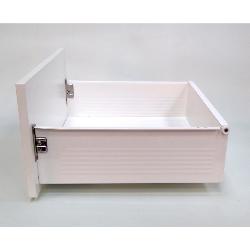
| | - Measure from the outside of the base unit to the centre of the top hole on the fixing plate
- For your reference, this size should be around 33mm
|
| | |

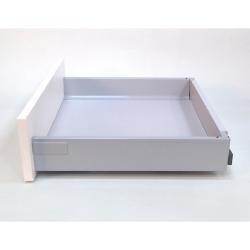
| | - Lay your drawer front as shown with the inside top marked in pencil
- REMEMBER to deduct the side clearance before marking the drawer front
- Just to clarify, the side clearance is 4mm because the unit is 500mm wide and the drawer front is 496mm wide
- This 4mm is halved to give 2mm clearance per side
- Mark the line on your drawer front as shown
|
| | |

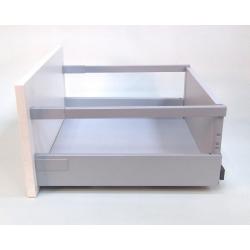
| | - Measure from the underside of the upper drawer front to the centre of the top hole on the fixing plate
|
| | |

| | - REMEMBER to deduct the top clearance before marking the drawer front
- To clarify, the top clearance is usually 4mm - 5mm
- Mark the line on your drawer front as shown
|
| | |

| | - You are now ready to attach the fixing plate to the drawer front
- The fixing plate must be removed from the drawer side
- First remove the plastic cover by pulling from bottom corner as shown
|
| | |

| | - Using Phillips screwdriver follow instructions below
- Push screwdriver in until the small sprung plate moves up as shown
- This exposes the full crossed slot allowing you to push screw driver in
|
| | |

| | - Now twist clockwise as shown
- As you twist clockwise, the plate should move out then fully release
- Repeat the same on the other side
- You can now fit the plates to the drawer front
|
| | |

| | - Place the plate as shown with the hole in position over the pencil marks
- Where the lines cross marks the centre of the top hole on the fixing plate
- Screw the plate into position using the 15mm screws supplied
- Repeat for the other plate
- You are now ready to drill the holes for the gallery rails
|
| | |

| | - Extend the marked line as shown as this is also the centre line for gallery rail
- Measure along 128mm from first hole in fixing plate and mark a line as shown
- This line marks the centre of the 10mm hole for your gallery rail
|
| | |

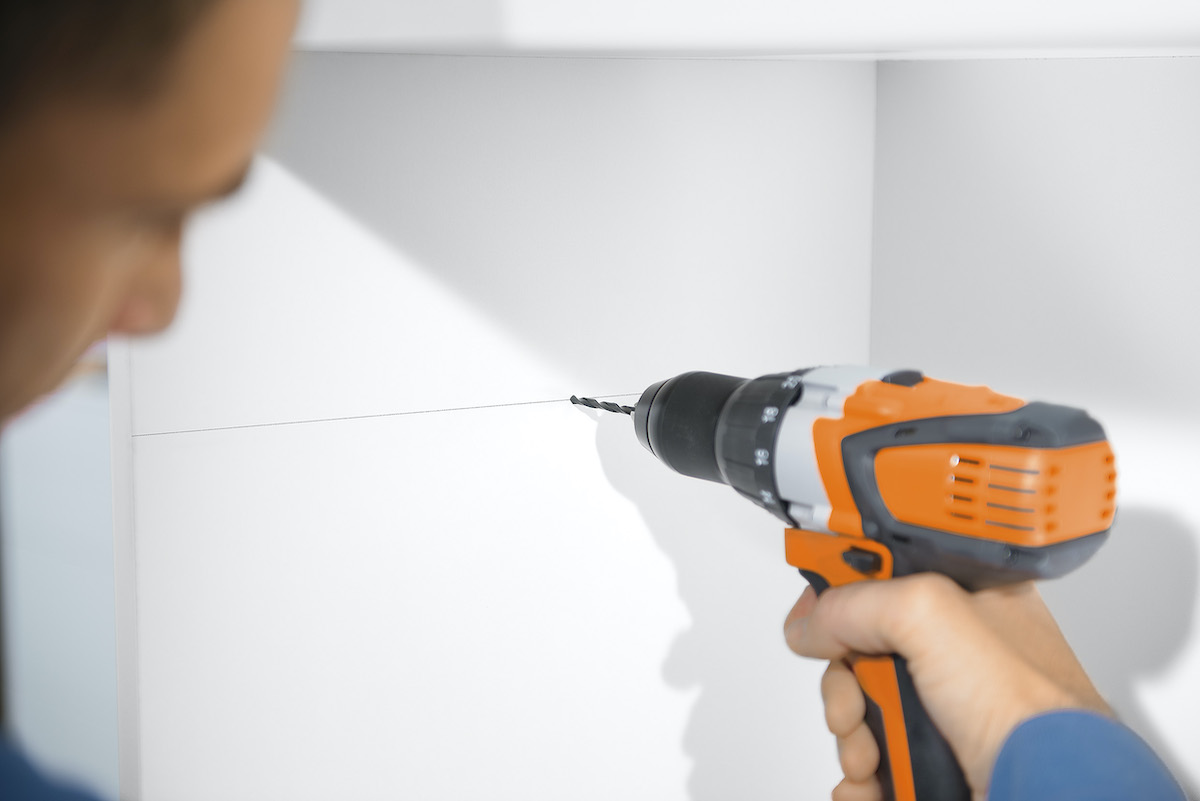
| | - Put tape on to the 10mm drill marking the depth of the gallery rail end
- This will prevent drilling too deep or coming through the front of your drawer face
- Drill both sides to the required depth
|
| | |

| | - Put the end of the gallery rail in the 10mm hole at right angles as shown
- When you straighten the rail, the end expands and becomes a tight fit in the hole
- With both rails in place, you are now ready to fit the front on to the box
|
| | |

| | - With the drawer box slill in position in the runners proceed as below
- Hold the drawer front as shown and line up the plates
- Push the drawer front into the sides until both sides click into place
|
| | |

| | - Next, line up the gallery rails with the fixing at the back, and push down to click into position
- With the drawer front now in position, you can check the clearance all round and decide on adjustments required
- See below for procedure to adjust your drawer front.
|
| | |

| | - Drawer front can be adjusted as shown in photo
|
| | |

| | - Top of drawer front can be adjusted out or in by turning orange barrel as shown
|
| | |

| | - When adjustment is complete, slide the square cover as shown
|
| | |

| | - When you are happy with adjustments and drawer front clearance, click the plastic covers back into place as shown.
- The drawer box installation is now complete and you can re-fit the handle or knob.
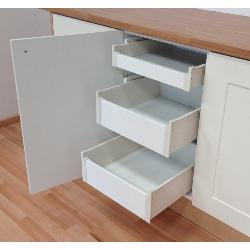
TO REMOVE THE BLUM TANDEMBOX DRAWER FROM THE RUNNERS -
Pull the drawer all the way out
Hold each corner at the front
Pull up the way and wiggle the drawer at the same time
Don't worry, it won't break, it will just free the drawer |
| | |
| | |
|
|
|