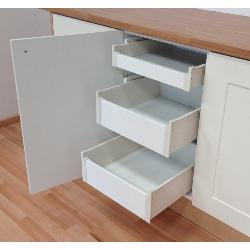
| | Prepare for installation
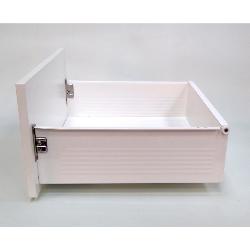
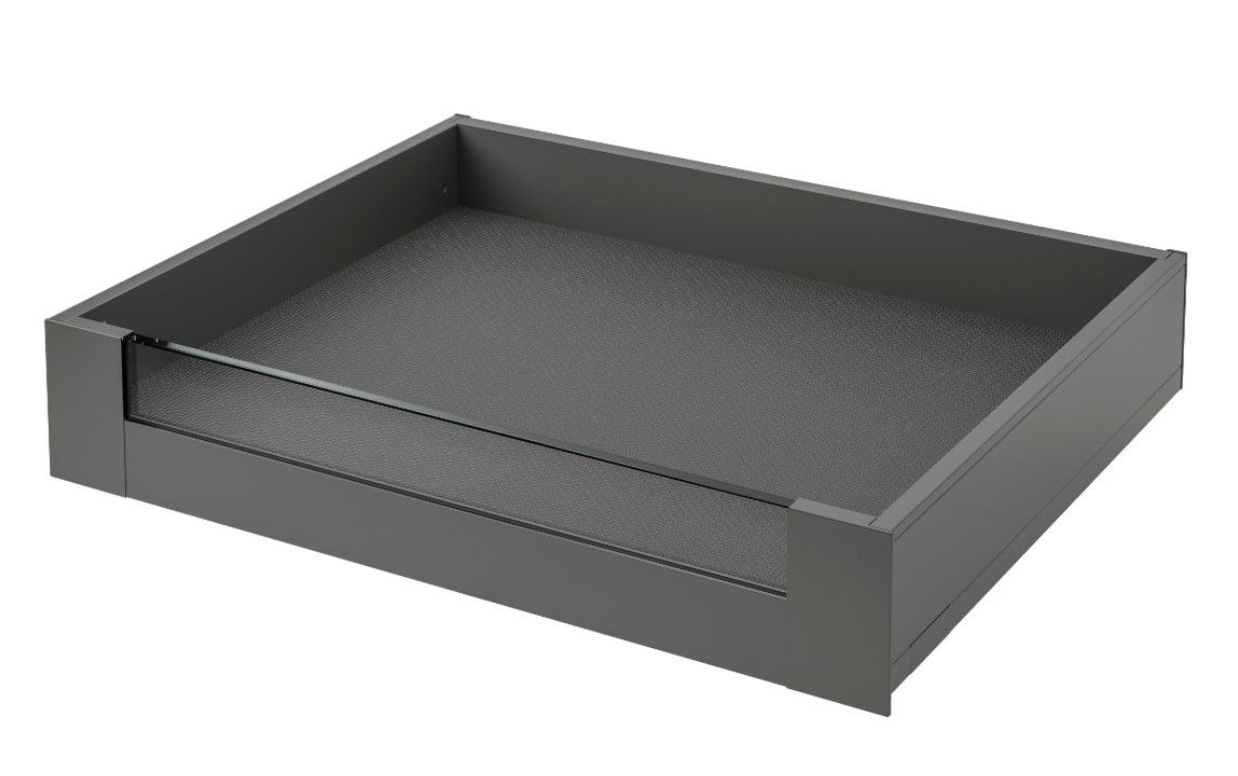
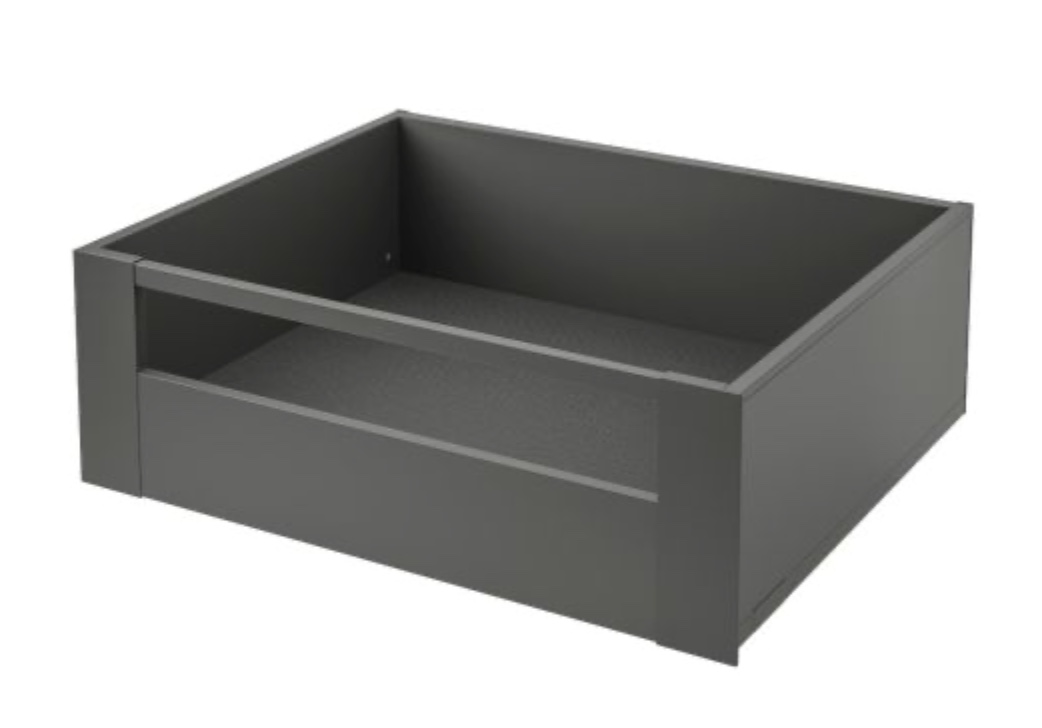
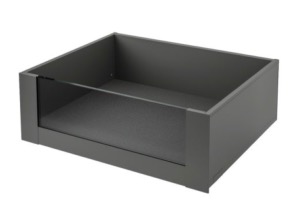
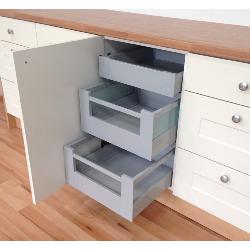
Your new Plinth Pod comes with the drawer box and plinth pod carcase separate to ensure the tip on mechanism is not damaged during transit.
|
| | |

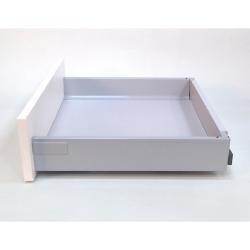
| | To fit the pre assembled drawer into the Plinth Pod Base please see below..
- With the runners fully retracted inside the unit, lay the box onto the runners approx 25% of the way in
- Push the box downward and in toward the back of the unit
- The box should click into place in the runner and locate itself
- The drawer should close, with the soft close operating normally
- You are now ready to fit the drawer front
|
| | |

| | These instructions assume you are using a section of your existing plinth (kick board) as the front on your new Pod.
You should have the section of plinth removed and ready to attach to the pod.
The other sections of plinth should be refitted and edged as necessary, with the correct gap left for the Plinth Pod front. Some adjacent sections of plinth may need to be temporarily removed again for easier access to the side of the Pod while fitting.
For a neat finish, we recommend making the spaces at the side where the plinths join as small as possible.
|
| | |

| | The floor under the unit should be clear of any obstructions
Please Note If your floor covering does not go all the way to the wall under the unit, you should fix some plywood if the difference is more than 14 mm.
If you have ceramic tiles fitted, or do not want to drill into the floor to attach the Pod, you can fix the pod to the underside of the unit instead of the floor.
As all Pod installations are unique, there may be a number of different ways to adequately secure the Pod. This can involve fixing through the pod base itself, or fixing through the unit base from above. Another option is narrower or altered L brackets than the type supplied. Either way, the Pod should be secure front and back to ensure the loaded drawer does not tip and contact the floor when open.
|
| | |

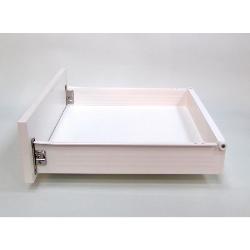
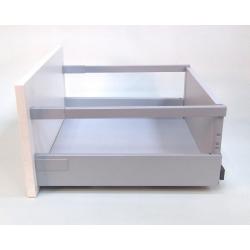
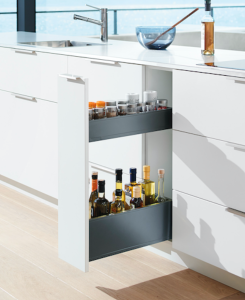
| | Components supplied with each Plinth Pod..
- Plinth Pod carcase with tip on runners fitted
- Pre assembled Blum Tandembox Antaro Drawer
- 2 x Blum Tandembox drawer front fixing brackets (1 fitted in each drawer side)
- 2 x metal L shaped Brackets to attach pod to floor or unit
- 1 x jacking pad to prevent loaded drawer tipping under weight (2 on longer pods over 600mm)
- All screws required to fix components
|
| | |

| | Plinth sizing and fixing
The finished piece of plinth you are using as the drawer front must be fitted and Push To Open spacing tested with the Pod up on on a bench or worktop.
The reason for this is the access to the Tip on (push to open) adjustment is under the drawer base, and cannot be accessed while the pod is on the floor.
We recommend that you cut your Plinth to suit the unit above your Plinth Pod i.e. an 800mm wide unit should have an 800mm long section of plinth. However, the size can be cut to suit appearance as well as operation, so it is ok to be slighltly longer than required for a tidy finish. When you decide on the length of plinth used, the gap should be around 3mm more. |
| | |

| | Your Plinth should be 3-4mm shorter than the available height from the floor to the underside of the unit to ensure it does not drag on the floor as you open the drawer.
This should be tested when the installation is complete to make sure there is no contact with the floor at any time.
There is further adjustment on the drawer allowing the front to be raised to suit.
There are also jacking pad/s provided to prevent tipping, and ensure there is no contact with the floor, even when the drawer is full. |
| | |

| | Tools and materials required to complete the installation..
- Your drawer front / section of plinth
- Complete pre assembled pod and drawerbox
- Fixing components and screws listed above
- Measuring tape
- Set square or similar
- Pencil
- Cordless drill driver or equivalent
|
| | |

| | Preparation to mark out and fix your section of plinth to the Pod
- Slide your Plinth Pod under the unit, remember to position the pod far enough back for the plinth to be flush with any existing fixed plinth on either side.
- When you are happy with this finished position, TEMPORARILY attach the Pod to the floor or underside of base unit above (using L brackets and screws supplied)
- Do not fix securely, as you must remove the whole pod to attach the front, and test and adjust the closing mechanism
- Next stage is to measure and mark the drawer front fixing positions with the Pod in place
|
| | |

| | Marking the vertical line on the drawer back
- The position of the top holes on the fixing brackets now have to be transferred onto the back face of the plinth / drawer front
- Measure from the edge of the existing Plinth or end panel to the center of the top hole of the fixing plate (allow a 1-1.5mm clearance where the plinths will meet)
|
| | |

| |
- Lay your drawer front/plinth as shown with the inside top marked in pencil
- Remember to deduct the 1mm clearance before marking the line on the plinth, so if the space is 100mm, you measure in 99mm from the side of the plinth / drawer front
- Mark the vertical line on your drawer front as shown
- repeat for other side
|
| | |

| | Marking the horizontal line on the drawer back
- Measure from the floor to the centre of the top hole in the fixing plate
|
| | |

| | - Transfer this size to the drawer front / plinth remembering to deduct the bottom clearance of 3-4mm
- Mark the horizontal line on your drawer front as shown
- Repeat for other side
- Put the plinth aside for now..
|
| | |

| | Mark best position for the Jacking pad/s (supplied). The jacking pad is attached to the pod near the back, and when utilised, will prevent any tipping forward of a loaded drawer.
- While the pod is in position, you can now find the best position to mount the jacking pad
- The jacking pad can go on either side (or one on each side if the Pod is over 600mm wide)
- The jacking pad needs to go as near to the back as possible to be most effective
- When you decide on the best spot for the jacking pad, mark on the side of the pod in pencil.
- The best spot is the furthest back position that you will be able to access the pad when fitted in order to screw it up tight to the base of the unit (see next image)
- With this done, and the fixing positions transferred, you can now remove the Pod in order to fit the pads as well as the drawer front.
|
| | |

| | Put the Pod on a bench or worktop for final preparation..
- You can now fit the jacking pad in the position just marked
- With the pad screwed all the way down, hold it as close as possible to the top of the Pod side without going above it
- Fix firmly in position with the screws provided
If for any reason you cannot fit the jacking pads, another alternative is to fix packing strips close to the back of the pod on either side. Assuming there is a small gap between the Pod and the underside of your base unit, this gap should be tightly filled where possible. Any thin material like plywood or veneer will do as long as it will not work loose. Fitting these packer shims serves the same purpose as the jacking pad. |
| | |

| | The drawer front fixing brackets must now be removed from the drawer sides, and attached to the back of the plinth.
- First remove the plastic covers by pulling from bottom corner as shown
- see below instructions to remove left and right hand fixing brackets
|
| | |

| | - Using a Phillips or cross head screwdriver follow instructions below
- Starting with the RIGHT HAND drawer front, Push screwdriver in until the small sprung plate moves up as shown
- This exposes the full crossed slot allowing you to push screw driver in
- As you turn the screwdriver, Clockwise on the right side, the fixing bracket pops out of its location.
|
| | |

| |
- Repeat the same for the LEFT HAND drawer side
- This time, turn Anti Clockwise to release the fixing bracket
- You are now ready to attach these fixing brackets to the inside of your plinth / drawer front
|
| | |

| |
- Place the fixing bracket as shown with the hole in position over the pencil mark cross
- Screw the fixing bracket into position using the 20mm screws supplied
- Repeat for the other front fixing bracket
- You are now ready to attach the drawer front on to the Pod
|
| | |

| |
- With the Plinth Pod up on a work bench, you can now fit the drawer front / plinth and allow adjustments
- Hold the drawer front as shown and line up the fixing brackets
- Push the drawer front into the sides until both sides click into place
- With the drawer front now fitted, you are ready to check the Tip on (push to open) mechanism
|
| | |
 mechanism")
| | Setting and adjusting the tip on mechanism
The tip on mechanism activates when the drawer front is pushed. There must be a gap (3mm) between the drawer front and the pod unit for the mechanism to operate.
There are two orange wheels on the underside of the drawer. These have been pre set to the correct distance, but can be turned to adjust the gap and enable proper operation if required.
If you are turning these dials, do the same amount on. both sides, and only a small amount at a time.
Check the tip on mechanism by pushing the drawer front near the middle to make sure it opens correctly every time |
| | |

| | Horizontal and vertical adjustment of drawer front
- With the plastic cover cap removed from the drawer side, you have access to the adjusting screws
- Adjust horizontally and vertically as shown to ensure perfect spacing.
|
| | |

| | Fix the finished Pod in position, test and adjust
- With the front fitted, the jacking pad fitted and the Tip on mechanism checked, you can now slide the pod into position under the unit
- Re-fix the L brackets and fully secure the pod in position.
- Open the drawer fully and ensure there is no contact with the floor at any point
- Carry out any vertical and horizontal adjustments necessary
- Adjust the jacking pad (fitted earlier) all the way up tight to the underside of the base unit
- This will prevent the loaded drawer tipping forward and the front coming into contact with the floor.
Please Note - Every installation is different. You may have to find other ways of securing the pod, eg - fixing pod directly to floor or unit, fixing different L brackets to suit space etc
|
| | |

| | Installation complete
- When you are happy with the adjustments, fit the plastic covers to finish the installation.
Removing the drawer from the pod
Pull the drawer all the way out, and holding each corner at the front, pull up and wiggle. If it does not come out immediately, you can push each runner back individually while supporting the weight of the drawer.
|
| | |